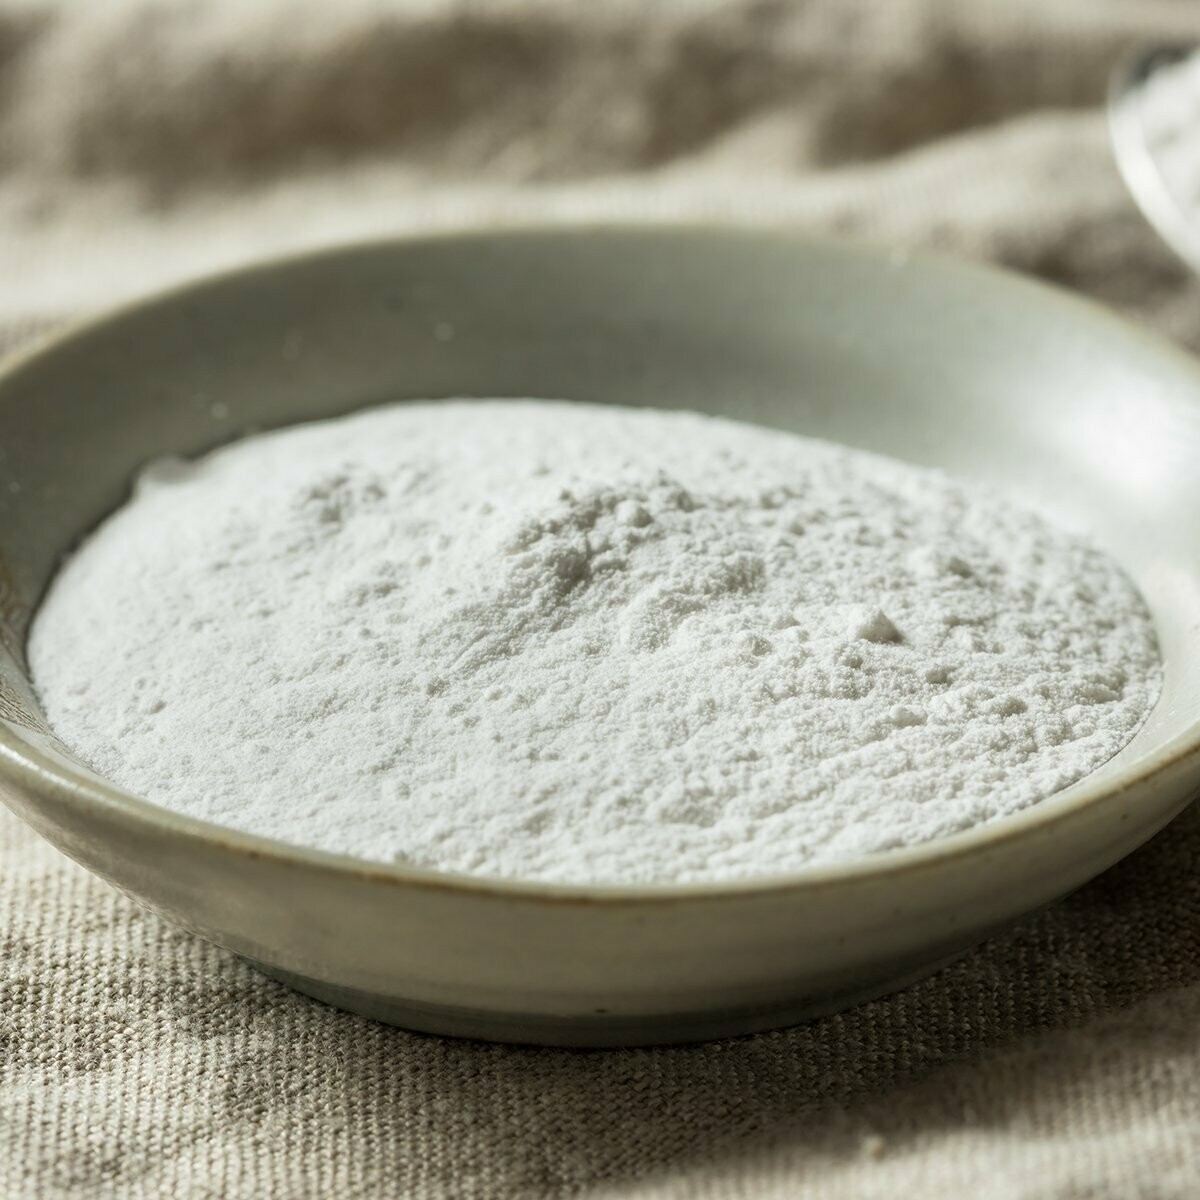
Cream Of Tartar Powder (100 g)
Cream Of Tartar, also known by the chemical name Potassium Bitartrate, is found in a wide variety of foods and even in bath products. It has the chemical formula KC4H5O6.
Cream of tartar is a byproduct of winemaking.
It is usually found in food uses. But another popular use that’s emerged in the last few years, is using it in bath bombs and bubble bars, as a hardener.
Bath Bomb recipe using cream of tartar as a hardener
Here’s a typical Bath Bomb recipe using cream of tartar as a hardener:
2.5 Lb Sodium Bicarbonate
1 Lb fine free flowing Citric Acid
6 Oz Sodium Cocoyl Isethionate Powder ( SCI)* For the best foam ever
2 Oz Corn starch
2 Oz Kaolin Clay
6 Oz Cream of tartar * in more humid areas bump up to 8 Oz
4 Oz Almond Oil (some prefer Avocado oil )
1 Oz Polysorbate 80
2 Oz of 2 of these – you choose from: Shea butter, Cocoa Butter, Mango butter (melted)
A favorite fragrance or Essential oil – (as needed) 1/2 oz to 2 Oz.
Colorant(s) Like mica powders, and / or Batch cerified dyes or lakes – amount varies
Instructions:
Gather: 2 large mixing bowls, a wire whisk, rubber gloves, a face mask, wax paper, blow dryer or craft heat gun.
Make sure you have a large open space to spread the wax paper so that the bombs are sitting level and can air “cure”.
Mix the ingredients in a well-ventilated area, and always use safety gear like gloves and masks .
Part A: Mix together the pre-measured Citric Acid, Sodium Bicarbonate, SCI, Cream of Tartar, kaolin clay, and Cornstarch together until well blended. When you think you have it blended well – mix it a little longer. (Work in a well-ventilated area).- optional Sodium Alginate
Part B: Slowly add almond oil and Polysorbate 80 in to the dry ingredients – until well mixed. Gently melt your shea and cocoa butter. Add the melted shea, cocoa butter to the “Part A” . Put your gloved hand into the mixture and smooth out any lumps that may form. Mixture should resemble ground cornmeal. At this point, if you want different colors and fragrances separate the mixture into different bowls and add fragrance oil till you reach the desired level of fragrance. You can also add colorant (mica ) now if you wish.
Take the 2 sides of the mold and scoop as much mixture into the mold as possible and squeeze the 2 sides together. Hold the mold in one hand while very gently squeezing the top of the mold. It should slide right off. Gently turn ball over into hand and gently squeeze the other side of the mold till bomb pops out into hand. Carefully lay the bomb onto the wax paper and let it “cure” for 2-3 days in a dehumidified area.
After your foaming bath bombs have cured and are nice and solid, it’s time to shrink wrap them. Unfold the shrinkwrap and cut out in to 8 x 8 inch squares. Place the bomb in the middle and pull one edge of the wrap up and over the ball while working your way around the ball. Hold the wrap down with one finger and apply the hair dryer or heat gun to the wrap working you way around the ball until it shrinks the wrap and the wrap adheres to the ball. Make sure you heat the entire ball. Lastly – properly label the product and affix the label to the bath bomb
Packaging Suggestions: Keep the bath bombs only in the clear wrap, or be creative and wrap the bath bombs in pretty fabric or sheer material with a bow These make wonderful gifts and will stay fresh for at least 6-9 months if stored properly.
* Makes about 13 to 15 bath bombs depending on how tightly you pack molds.

